How to Cook Thick Pork Chops with a Perfect Crisp Crust
We'll tackle a common dilemma when it comes to cooking thick pork chops: whether to cut the fat cap off or not. Don't worry, we've got you covered! In this blog post, we'll discuss the pros and cons of cutting the fat cap off and provide you with tips on how to achieve a perfectly crispy exterior on your pork chops.
The Dilemma
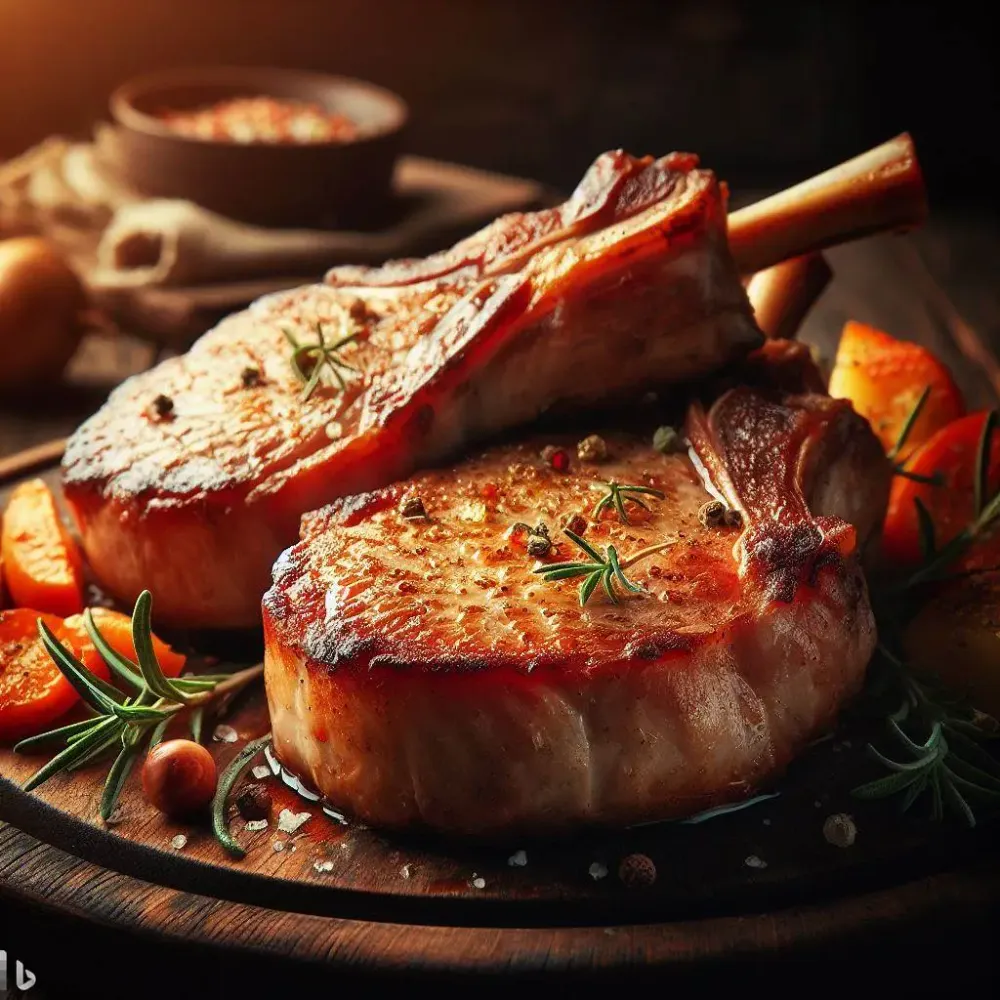
So, you've bought some beautiful thick bone-in pork chops, but they come with their fat cap on. You want to get some of that delicious fat crisped up, but the fat cap seems a bit rubbery. Should you cut it off or try to cook it in the pan? Let's explore both options.
Option 1: Cutting the Fat Cap Off
One way to go about it is to cut the fat cap off entirely. This approach allows you to sear the fat directly, which can result in a crisper exterior. However, keep in mind that removing the fat cap means losing some of the flavor and juiciness that comes with it. If you choose this option, make sure to season the meat well before cooking to compensate for the lost flavor.
Pros:
- Crunchier exterior
- Easier to cook evenly
Cons: - Less flavorful
- Potential loss of juiciness
Option 2: Cooking with the Fat Cap On
The other option is to leave the fat cap on and cook the pork chops as is. This method allows you to retain the natural flavors and juices of the meat. The fat cap will also add a nice texture contrast to the dish. However, keep in mind that the fat cap might not puff up as much as you'd like, and it may take longer to achieve a crispy exterior.
Pros:
- More flavorful
- Juicier meat
Cons: - May be harder to cook evenly
- Fat cap may not puff up as much
Tips for Achieving a Crisp Crust
Regardless of whether you decide to cut the fat cap off or cook with it on, here are some tips to help you achieve a perfectly crispy exterior on your pork chops:
- Dry Brining: Before cooking, pat the pork chops dry with paper towels to remove excess moisture. This step helps create a better crust by allowing the meat to brown more evenly.
- Seasoning: Season the pork chops generously with salt, pepper, and any other herbs or spices you prefer. Let the meat sit for about 30 minutes to allow the seasonings to penetrate.
- Pan-Sealing: Heat a pan over medium-high heat and add oil. Once the oil is hot, carefully place the pork chops in the pan, fat side down (if applicable). Sear the meat for 2-3 minutes on each side, or until a nice crust forms. Finish cooking the pork chops in the oven at 400°F (200°C) for an additional 15-20 minutes, or until they reach your desired level of doneness.
- Fat Cap: If you choose to leave the fat cap on, make sure to trim any excess fat from the top to prevent it from becoming too greasy. You can also score the fat cap lightly to encourage it to render out more evenly while cooking.


